Advertisements and Tracking are a Problem
Almost all mobile devices and especially smart devices are nowadays tracking you to use that data in sophisticated schemes. Where you can on browsers at least choose the browser and plugins to safeguard you, with IoT devices you are out of luck.
Additionally the whole tracking and advertising is also using quite some bandwidth in everyday surfing. So blocking traffic, does not only make surfing more agreeable, it’s also faster, while you are preserving your privacy! So i guess, it’s worth a try ;)
Below we will look at a core technology in the internet: Domain Name System (DNS). And how we can use it to help us.
How does DNS work
Instead of explaining DNS myself, have a look at this simple scrollable explanation: https://www.verisign.com/en_US/website-presence/online/how-dns-works/index.xhtml
Or in one simple image:

PiHole
Now, as you can imagine, we can use DNS to create lists of targets, we just don’t want to resolve the malicious domain and that’s it ;) Unfortunately you home router is not equipped to help us here.
That’s why we have a quick look at PiHole and a small device, called a RaspberryPi. Essentially a RaspberryPi is a very small, very power efficient computer, where will run our adblocking machine.
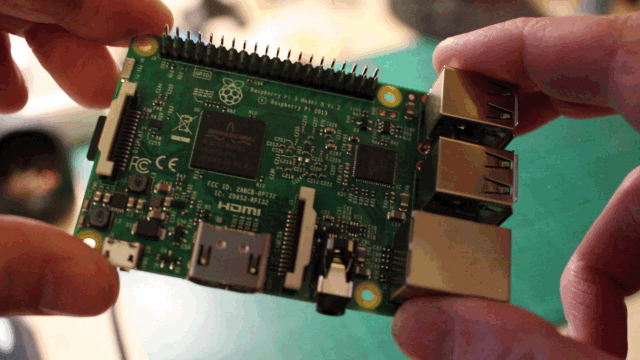
Raspberry Pi
Learn more about a raspberry pi: https://www.raspberrypi.org/
It’s really small and versatile:
Installation
You just have to get one of those devices and install the PiHole Software from: https://pi-hole.net/ on that machine. The last thing you should do after the installation is to set now the DNS from your provider to the PiHole device.
Configuration
After the installation you should configure your block lists. Here my recommendation (to bet set under: http://pi.hole/admin/settings.php?tab=blocklists):
- https://raw.githubusercontent.com/StevenBlack/hosts/master/hosts
- https://mirror1.malwaredomains.com/files/justdomains
- http://sysctl.org/cameleon/hosts
- https://zeustracker.abuse.ch/blocklist.php?download=domainblocklist
- https://s3.amazonaws.com/lists.disconnect.me/simple_tracking.txt
- https://s3.amazonaws.com/lists.disconnect.me/simple_ad.txt
- https://hosts-file.net/ad_servers.txt
- https://raw.githubusercontent.com/crazy-max/WindowsSpyBlocker/master/data/hosts/spy.txt
- https://raw.githubusercontent.com/StevenBlack/hosts/master/data/KADhosts/hosts
- https://raw.githubusercontent.com/StevenBlack/hosts/master/data/add.Spam/hosts
- https://v.firebog.net/hosts/static/w3kbl.txt
Operation
When you got it live it will work like this:

You will mainly use this awesome dashboard where you can configure everything!

NextDNS
Using the PiHole is a very smooth and just working solution. You just have one challenge now:
No safeguards when you are on the road!
That’s a real bummer, as you should use this technology also, when you are on the road. Running a PiHole locally seems messy and constantly connecting to a VPN also seems impractical.
That’s where NextDNS comes into play! It’s basically a PiHole-as-a-service. It can basically provide the very same service as your PiHole, on the road. For more information, you can also read this very good article: https://medium.com/@mlapida/replacing-pi-hole-with-nextdns-faed99277997
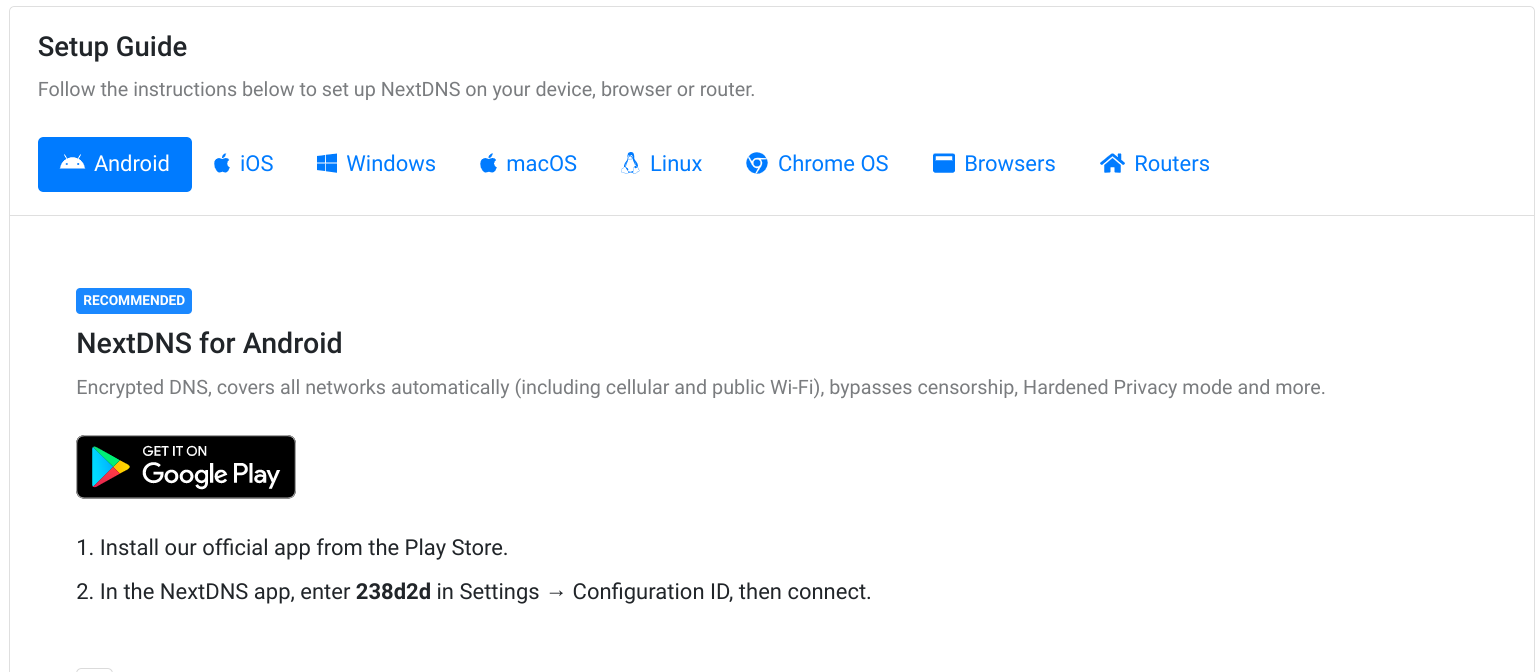
Setting that up is also quite easy:
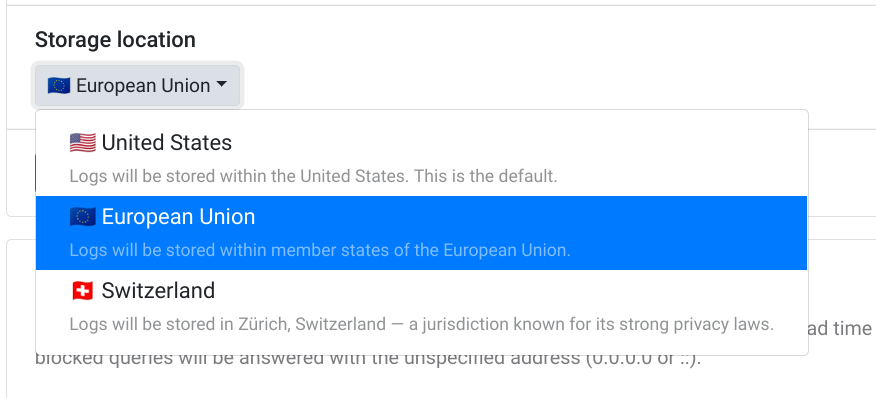
- Register under https://my.nextdns.io
- Configure your log storage endpoint (select EU, if you live in EU and so on)
- Configure your endpoints
- Configure your security and privacy settings The blocklists are already there to pick. No need to look for the urls.
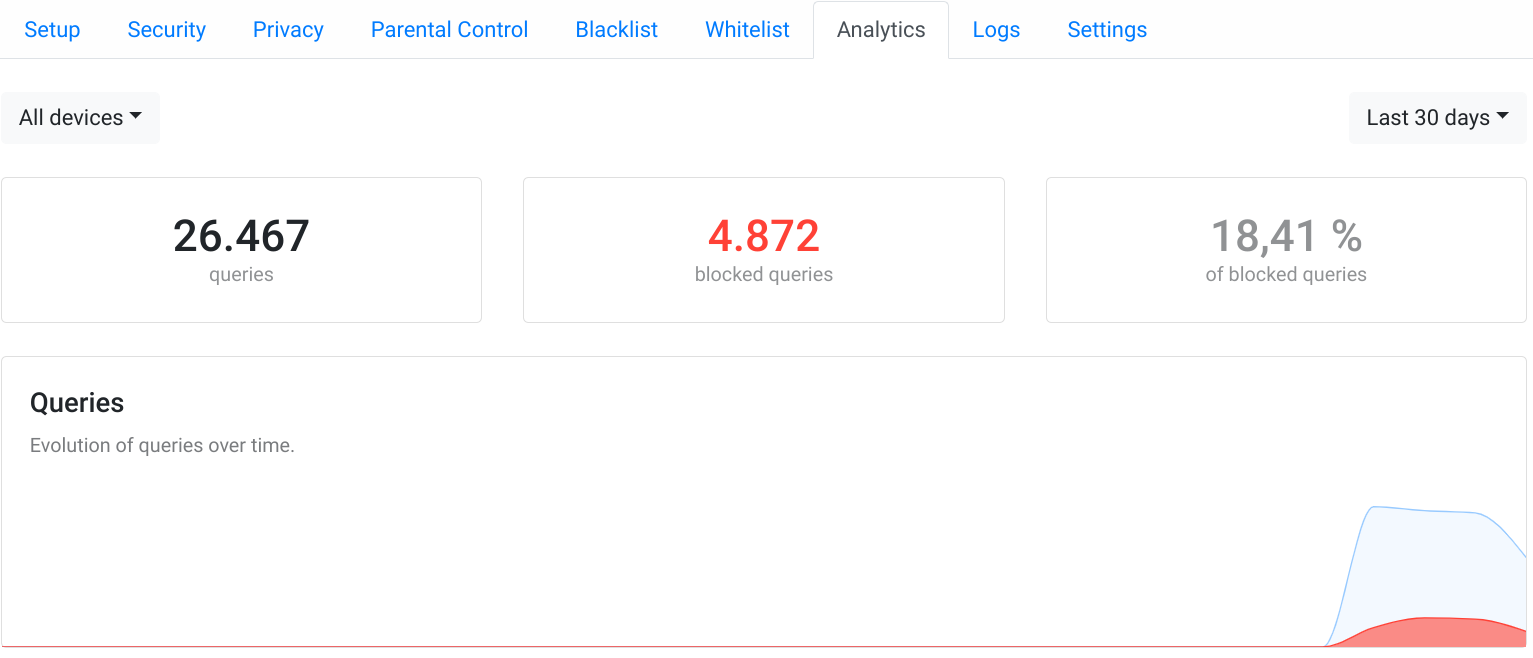
- Check the logs and analytics
- Done!
One of the prime motivation to use the service is it’s wide range of supported protocols and devices. It supports for instance the private DNS mode of Android natively and supports endpoints for DNS-over-TLS and DNS-over-HTTP. Exactly what we need.
Using both
You can of course set the external DNS servers of NextDNS directly in your router and forget about it. But you will not have 2 features to be considered:
- No device difference in the logs. All is coming from your router
- No encrypted DNS communication (through DoT, for example)
In order to combine now the PiHole (or just an ordinary base RaspberryPi) with NextDNS, we can just install the nextdns CLI on the Raspberry Pi and route the upstream DNS requests there.
Just follow the instructions from here: https://github.com/nextdns/nextdns
Create a config file under “/etc/nextdns.conf”. You should enable caching and auto activate, when you let it run alone:
hardened-privacy false
timeout 5s
config YOUR_NETWORK_ID
log-queries false
cache-size 0
cache-max-age 0s
max-ttl 0s
report-client-info true
detect-captive-portals false
bogus-priv true
listen :5353
use-hosts true
setup-router false
auto-activate false
Now you only have to set the upstream DNS server in the PiHole to “127.0.0.1#5353 and deactivate the blocklist rules (next dns does that for you and we cache locally…)
Thanks for reading and feedback is welcome!